CONTACT
458-207-9442
25375 Loten Way
Veneta, OR 97487
458-207-9442
25375 Loten Way
Veneta, OR 97487
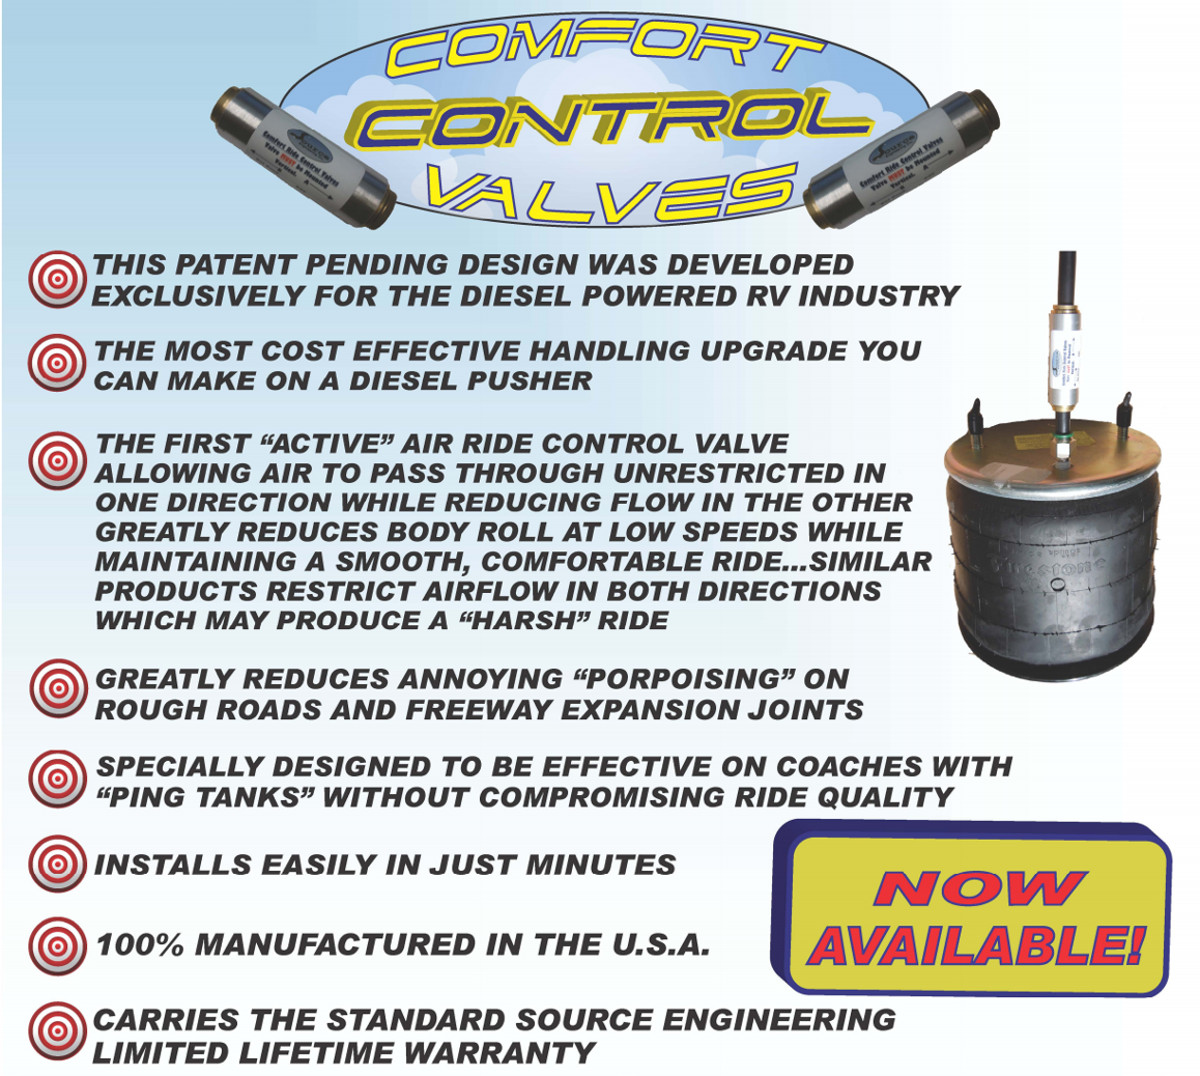
Comfort Ride Valve Kit
Sales Document - click for printable document
Installation Instructions - click for printable document
Required Equipment: Safety Stands and Hose Cutters
Warning: Vehicle must be placed securely on safety stands (properly rated for motorhome use) or over a work pit before any work is performed! SAFTEY FIRST
Due to low clearance, sever injury or death can occur if an individual is underneath motorhome, when the air is adjusted or drained from system.
- Position the coach on a level flat surface, drive the coach onto approximately 4" blocks, and set the park brake. You may drive the coach over a work pit and chock the front wheels and block off adequate space at the rear of the coach to work.
- Deflate the air springs using the dump valve switch in the coach, you may also need to drain the air tank, by depressing the brake pedal multiple times.
- Using a hose cutting tool, cut the air lines as close to the bag as workable with a clean and precise 90° cut. The "B" side of the CCV valve should be oriented toward the air spring (air-bag). Note: possible leaks can occur if the air line is not cut precisely or not clean of all debris. Use a soap and water solution to clean and lube the hose before installing into CCV valve.
- Install the motion control unit in place, push tubing firmly into each port of the control unit, the tubing will lock into place. Make sure the hose is pushed in as far as possible into the CCV valve! The CCV valve must be mounted in such a way as to not to create side load on the hoses. If there is a strain on the hose, it could create a leak.
- Start engine inflate the air springs and check for leaks by spraying the fittings with a water and soap mixture.
